The Body
The body of the guitar is made up of the Top, the Back and the Rim. The Rim is made from two symmetric pieces of thin wood, called the Sides. These are usually from the same wood as the Back. Before building the Body, the main components must be brought to the correct thickness. The thickness is determined by a tradeoff between strength, weight and acoustical behavior. The Body needs to be as thin and light as possible and yet strong enough to hold up to the force of the combined tension of all strings. And it must be flexible enough to resonate with the vibration energy from the plucked strings which couples with the air inside the body and creates the sound waves coming out of the soundhole. In a nutshell, this is what the sound of the instrument is all about.
The wood that is sold by
luthier supply companies for Tops,
Backs
and Sides is quarter-sawn and 'book-matched", i.e. the pieces were next
to
each other in the block of wood when sawn and are usually almost
identical in appearance. When glued together to make the top or the
bottom the two book-matched pieces are therefore very close to
symmetrical to the centerline.
The first operation in building the body is the so-called thicknessing
of the
top, bottom and sides. I do this with a wide-belt thickness sander to a
uniform thickness of 2-2.5mm.

 To
make the Rim the two Side pieces need to be bent to the form of the
guitar. This is done in
a bending machine where the moistened side wood is "cooked" between two
pieces of stainless steel sheet metal which are heated by an electric
heating blanket. The shape is provided by a mold in the shape of
half the guitar into which the wet and hot sides are pressed
and
left to cool.
 I
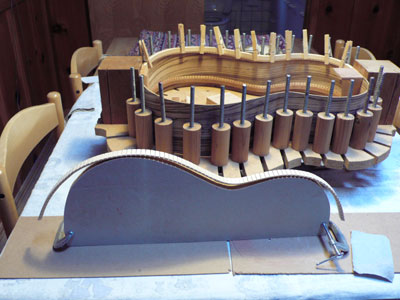
built this Universal Mold fixture to define the shape of the Body and
to glue on the
Top and the Back. It is adaptable to different body sizes and shapes
and is another credit to my teacher Charles Fox.
 In
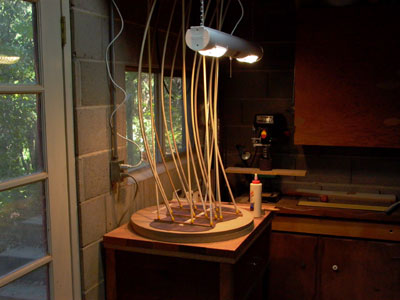
preparation for the kerfing strips to be glued to the top and
bottom edges of the Rim they need to be bent to conform to the shape of
the Rim. This is best done with steam from a normal kettle. They are
then clamped to a form to cool.